





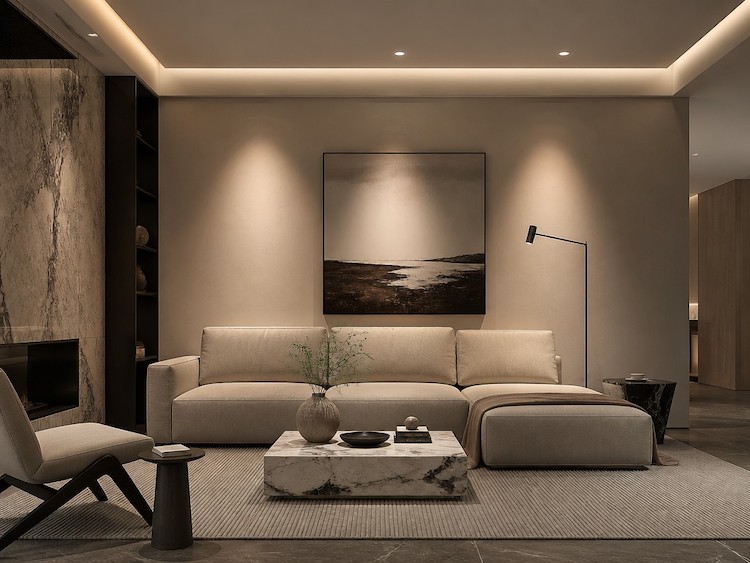
The Invisible Facelift: 5 Common Home Lighting Mistakes (And How to Fix Them)
Walk into a room and flip a switch. What happens next dictates exactly how you feel about that space, whether you realize it or not. You might have spent thousands of dollars on a custom velvet sofa, sourced a mid-century modern coffee table from a premium boutique, and curated the perfect gallery wall. Yet, if your lighting is off, that beautifully designed room can instantly feel flat, cold, or as uninviting as a commercial laboratory.
Lighting is the ultimate invisible facelift of interior design. It possesses the unique psychological power to alter our mood, shift our perception of space, and dictate our biological comfort. Unfortunately, it is also the element most frequently treated as an architectural afterthought. Most people simply install a center ceiling fixture, screw in whatever bulb is on sale, and call it a day.
If your home feels uninspiring, small, or subtly stressful but you cannot quite pinpoint the reason, the culprit is likely glowing right above your head. High-quality lighting design is not about purchasing exorbitant, high-end designer fixtures; it is about mastering the relationship between light, shadow, and human behavior.
Here is an in-depth breakdown of the five most common home lighting mistakes, the spatial mechanics behind why they fail, and the exact design strategies required to fix them.
1. The "Interrogation Room" Effect: Relying on a Single Overhead Light
The single most prevalent mistake in residential design is the over-reliance on a solitary, central overhead light source to illuminate an entire room. When you blast a space from a single central point on the ceiling, you create what designers call the "interrogation room effect."
Why This Fails Spatial Mechanics
A single overhead source flattens the dimensions of a room. Because the light originates from a solitary point directly above, it casts harsh, downward vertical shadows beneath your furniture, your artwork, and even your own facial features. It fails to distribute light to the corners and walls of the room, making the perimeter fade into darkness. This contrast tricks the human brain into perceiving the room as significantly smaller and more confined than it actually is.
The Fix: Structural Layering
To create an inviting, expansive atmosphere, you must think in layers. Professional lighting design relies on a matrix of three distinct lighting types working in harmony:
- Ambient Lighting: This is your foundational layer. It provides overall illumination and ensures safe navigation. Instead of a single harsh bulb, achieve ambient light through recessed architectural cans, flush mounts, or large shaded fixtures that diffuse light evenly across the ceiling plane.
- Task Lighting: This layer is highly functional and directional. It targets specific areas where activities take place—such as reading, cooking, or grooming. Examples include adjustable desk lamps, under-cabinet kitchen LED strips, or low-hanging bedside pendants.
- Accent Lighting: The secret weapon of high-end spaces. Accent lighting draws the eye to architectural features, textures, or artwork. This includes picture lights, track heads aimed at a gallery wall, or uplights tucked behind a large indoor plant.
By scattering these sources at varying heights throughout the room, you create visual depth and eliminate cold, cavernous corners.
The Hidden Layer Matrix
When these layers blend seamlessly, shadows vanish and the room expands visually. The goal is to cross light paths gracefully, avoiding dark dead zones while keeping the center of the room dynamic and soft.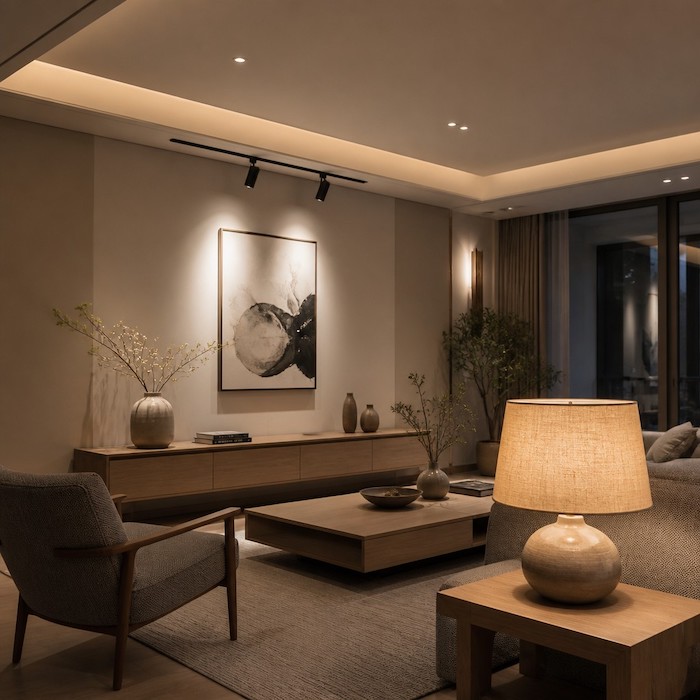
2. The "Doctor's Office" Vibe: Ignoring Color Temperature
You purchase a box of light bulbs, screw them into your new living room lamps, and suddenly the space feels sterile, clinical, and aggressive. This is the classic symptom of a color temperature mismatch.
Understanding the Kelvin Scale
Color temperature is measured on the Kelvin (K) scale, which quantifies the visual warmth or coolness of light. Lower numbers represent warm, amber tones, while higher numbers represent cool, blue-toned light. For home environments, the scale transitions smoothly from Candlelight (2000K), through cozy Warm White (2700K), up to functional Cool White (4000K) and clinical Daylight (6500K).
The mistake happens when homeowners accidentally mix mismatched temperatures within the same room, or use high-Kelvin, cool light in spaces designated for rest and relaxation.
Why This Fails Human Biology
Our bodies are deeply governed by circadian rhythms—the internal biological clock that responds to light cues. Cool blue light (4000K to 6500K) mimics natural midday sunlight. It suppresses the production of melatonin, keeping your mind alert, focused, and tense. If you flood your bedroom or living room with this temperature in the evening, your brain struggles to transition into a state of rest, frequently leading to sleep disruption and underlying anxiety.
The Fix: A Room-by-Room Temperature Blueprint
To achieve a cohesive, designer-level look, you must match the color temperature to the psychological and functional intent of each specific space:
| Space Type | Recommended Kelvin Range | Visual Effect & Purpose |
|---|---|---|
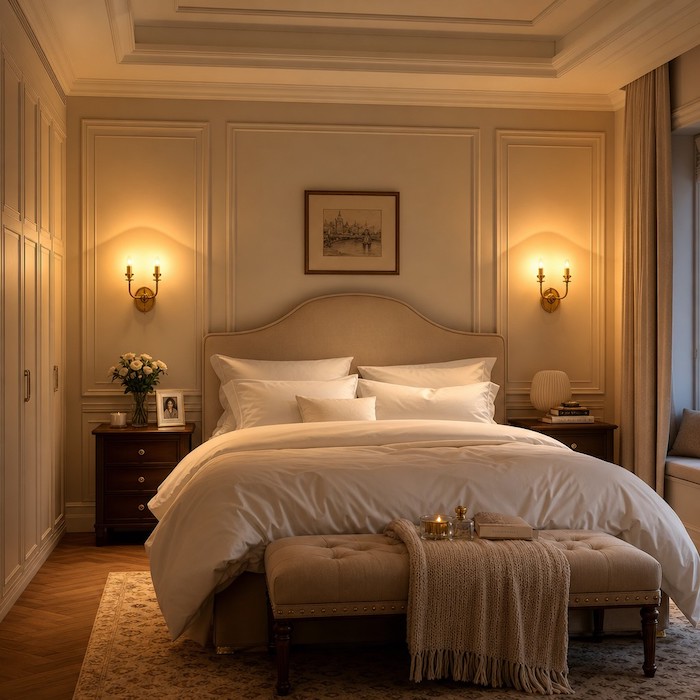
| Living Rooms, Bedrooms, Dining Areas | 2700K – 3000K (Warm White) | Creates an intimate, cozy, and relaxing atmosphere that mimics candlelight and traditional incandescent bulbs. |
| Kitchens, Home Offices, Garages | 3500K – 4000K (Neutral/Cool White) | Enhances visual acuity, increases alertness, and ensures colors appear accurate for tasks like food prep or working. |
| Bathrooms (Vanity Areas) | 3000K – 3500K (Soft Neutral) | Balances the need for accurate grooming visibility without feeling aggressively cold or clinical. |
Pro Tip: Never mix different Kelvin temperatures within the same visual field. If your overhead recessed lights are 4000K and your floor lamps are 2700K, the clashing undertones will make the space look disjointed and visually chaotic.
3. Static Lighting Traps: The Absence of Dimming Capability
A home is a dynamic environment. A living room might serve as a bright, high-energy playroom for children at 2:00 PM, a focused home office at 4:00 PM, an intimate hosting space for a dinner party at 7:00 PM, and a pitch-black sanctuary for movie night at 9:00 PM.
The mistake is treating your lighting as static—having switches that only operate in binary states: completely blinding or entirely dark.
Why This Fails Functionality
Without the ability to modulate light levels, you force your home into a rigid, mono-functional state. High-intensity light that is perfect for cleaning up a spill at noon becomes offensive and jarring when you are trying to wind down with a glass of wine at night.
The Fix: Dynamic Control Systems
The easiest way to instantly elevate the luxury quotient of your home is to implement dimming capabilities across all primary lighting circuits.
- Wall Dimmers: Replace standard toggle switches with universal dimmer switches. This grants you manual control over the intensity of your ambient overhead lighting.
- Smart Automation Adaptation: If changing wall switches is not an option—such as in a rental property—utilize smart adaptive lighting ecosystems. These allow you to pre-program "scenes" via an app or voice control, automatically transitioning your home's light levels based on the time of day.
Dropping your light levels by just 20% to 30% after sunset completely shifts the architectural mood, softening harsh angles and preparing your mind for deep rest.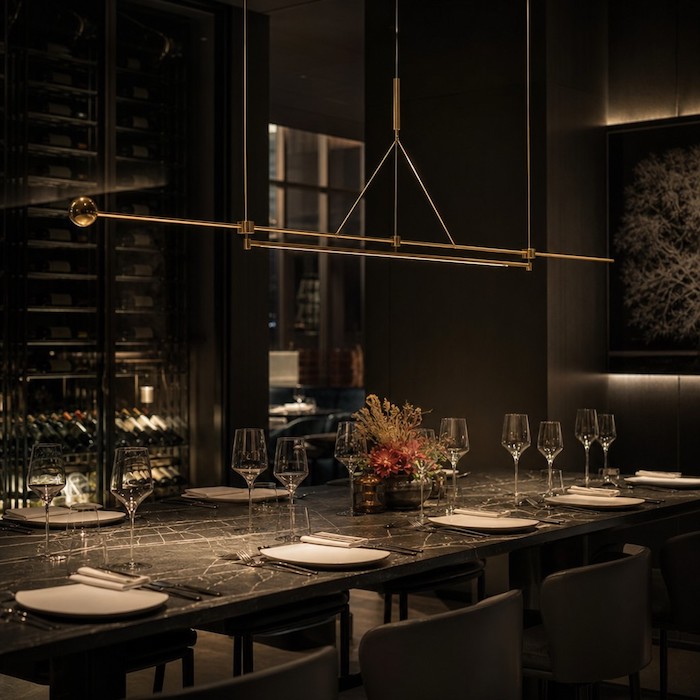
4. The "Shadow Assassin": Incorrect Height and Placement
Even if you have the perfect layered layout and the ideal color temperature, placing your fixtures in the wrong physical locations can render them useless, or worse, counterproductive.
Scenario A: The Bathroom Mirror Shadow
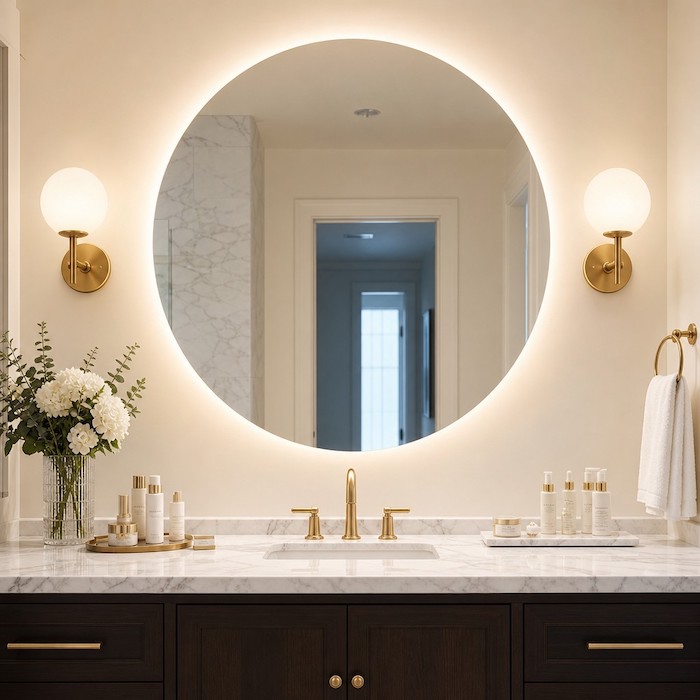
Placing a single recessed downlight directly over a bathroom sink vanity is a universal design error. Because the light source is directly above your head, it casts deep, exaggerated shadows down your face—creating dark circles under your eyes, nose, and chin. It makes precise tasks like shaving, applying makeup, or skincare incredibly difficult.
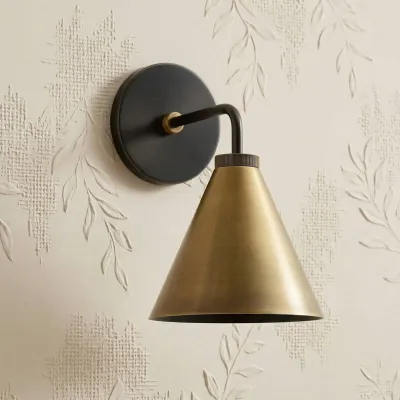
- The Fix: Eliminate top-down shadows by placing wall sconces on either side of the bathroom mirror, positioned at approximate eye level (roughly 60 to 66 inches from the finished floor). This creates cross-illumination, washing your face in a flattering, even light with zero shadow lines. This layout perfectly demonstrates the core principle behind the Aleena Sconce: How Linear Wall Lights Shape a Room.
Scenario B: Cooking in Your Own Shadow
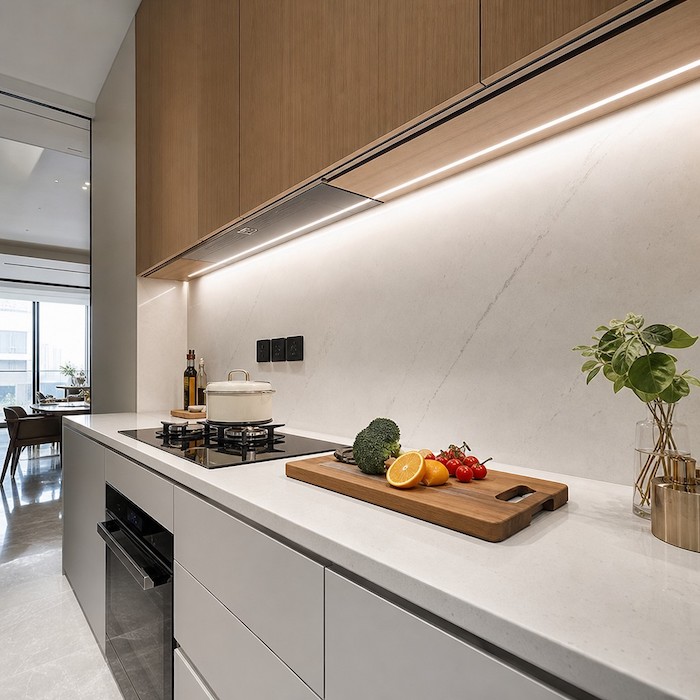
In kitchens, homeowners frequently center their ambient ceiling lights in the middle of the walkway aisle rather than aligning them with the counter edge. When you step up to the counter to chop vegetables or read a recipe, the light source is now positioned behind your back. Your body blocks the light, forcing you to work entirely within your own shadow.
- The Fix: Align ceiling recessed cans directly above the center line of your countertops, or integrate dedicated under-cabinet task lighting to illuminate the workspace directly from below.
Scenario C: The Disconnected Pendant
Hanging a beautiful dining room chandelier or island pendant too high detaches the fixture from the furniture below it, making it look like it is floating aimlessly in space. Hanging it too low creates an obstructive barrier that blocks sightlines and creates a physical hazard.
The Proportional Blueprint: To ensure perfect architectural harmony, follow the standardized interior design rules. The bottom of a dining pendant or chandelier should sit precisely 30 to 36 inches above the surface of your tabletop. For high-traffic walkways or entry zones, the lowest point of any hanging fixture must clear at least 7 feet from the finished floor to allow safe, unobstructed movement.
5. Overlooking "Zero-Cost" Architectural Fixes
Many people believe that fixing a poorly lit home requires a massive financial investment in new fixtures, wiring, and professional electrical labor. This belief causes them to live in uncomfortable spaces indefinitely. They overlook the physics of how light interacts with physical matter.
Why This Fails Awareness
Light does not stop when it exits a bulb; its journey continues as it bounces off every surface in your home. If your walls are painted a dark matte finish, they absorb light like a sponge. If your furniture is arranged away from the natural flow of windows, you waste the free daylight provided by the sun.
The Fix: Exploiting Vertical Surfaces and Manipulation
Before looking into specific fixtures like Linear Wood Wall Lights: How to Add Warmth to Modern Walls, remember that you can radically transform the brightness of your home without buying a single piece of lighting equipment by using these three strategic design pivots:
- Utilize Wall Washing: Instead of pointing a lamp downward toward the floor, angle it toward a blank, light-colored wall. When light hits a vertical surface, it diffuses across the room, creating an illusion of expansive, airy space. This is a classic museum trick that instantly opens up narrow hallways or compact bedrooms.
- Audit Your Paint Sheen: If you have low-light rooms, avoid flat or ultra-matte wall paints. Opt for an eggshell, satin, or semi-gloss finish. These sheens feature a higher micro-reflectivity index, allowing light from your existing windows and lamps to bounce deeper into the footprint of the room.
- Clear the Light Paths: Look at your window treatments. Are heavy, dark draperies blocking the upper third of your window glass even when pulled open? Adjust your curtain rods to extend 6 to 10 inches outside the actual window frame. This ensures that when the curtains are open, the entire glass pane is exposed, maximizing natural daylight penetration during peak hours.
The Golden Rule of Lighting Design
The Golden Rule: Light the walls and the corners, not just the floors.
A home should not be illuminated like a parking lot or a sports arena—with uniform, blazing brightness. The true beauty of a space lies in the soft transitions between light and shadow. By layering your sources, controlling your color temperatures, installing dimmers, and placing your fixtures mindfully, you can completely redefine how your home looks, feels, and functions. Turn off that harsh center ceiling light tonight, turn on a couple of strategically placed lamps, and watch your space instantly transform.


