



How to Fix a Flickering Wall Light: A Complete Troubleshooting Guide
Few things disrupt the comfort of a well-designed room faster than a flickering wall light. Whether you are winding down in your living room or navigating a dark hallway, a stuttering sconce is more than just a minor annoyance—it can cause eye strain, ruin your interior ambiance, and occasionally signal an underlying electrical hazard. Instead of ignoring the issue or assuming you need to call a costly emergency electrician, you can systematically diagnose and resolve the problem yourself. By understanding the mechanical and electrical variables at play, you can safely restore steady, warm illumination to your home.
Quick Answer: Why is Your Wall Light Flickering?
When dealing with a flickering wall light, the issue almost always boils down to one of four primary culprits: physical instability, component mismatch, loose internal connections, or external circuit overload. Identifying the pattern of the flicker is the fastest way to pin down the root cause. A rapid, continuous strobing usually points to a component mismatch between an LED bulb and an older dimming switch. Conversely, an irregular, random blink that occurs when you walk past the fixture or tap the wall points toward physical looseness—either a bulb that has backed out of its socket over time due to natural thermal expansion, or a wire nut that wasn't twisted tightly enough during installation. Before tearing into your drywall or discarding the fixture entirely, running through a quick diagnostic mental checklist can save you hours of unnecessary labor.
The Troubleshooting Matrix: Key Factors to Check Before Fixing
Before executing any physical repairs, you must evaluate the specific symptoms of your lighting issue. Making a definitive judgment call early prevents you from wasting money on new parts that won't solve the underlying problem. For example, if you install a brand-new bulb and it continues to flicker in exactly the same pattern, you can immediately rule out bulb failure and focus on the switch or wire joints. Use the comprehensive diagnostic matrix below to map out your specific scenario, identify the most likely cause, and determine the precise corrective action required.
| Flickering Symptom | Context & Conditions | Primary Root Cause | Recommended Judgement & Action |
|---|---|---|---|
| Continuous, rapid pulsing or strobing | Occurs immediately when turned on or when adjusting a dimmer switch. | Incompatible dimmer switch or non-dimmable LED bulb used on a dimming circuit. | Replace the bulb with a certified dimmable model, or upgrade to an LED-compatible CFL/LED dimmer switch. |
| Random, intermittent blinking | Happens randomly, or triggers when vibrations occur near the wall. | Loose bulb seating or a poor wire connection (loose wire nut) in the junction box. | Shut off the main breaker, tighten the bulb in the socket, and inspect the wire nut connections. |
| Flickers only when major appliances start | Triggers momentarily when the HVAC, refrigerator, or vacuum turns on. | Voltage drop across a shared residential electrical circuit. | Move the appliance to a different circuit, or consult an electrician to install a dedicated circuit line. |
| Faint flickering or glowing when turned OFF | Slight shimmer visible only at night when the switch is completely off. | Stray current leakage through a smart switch or illuminated night-light switch. | Install a bypass capacitor or swap the switch out for a standard mechanical toggle switch. |
To deepen your understanding of how modern lighting elements interact with home power systems, it is highly beneficial to look into how specific bulb types function under variable currents. For a deep dive into choosing the right bulb technologies for your household fixtures, check out our guide on choosing the right LED bulbs.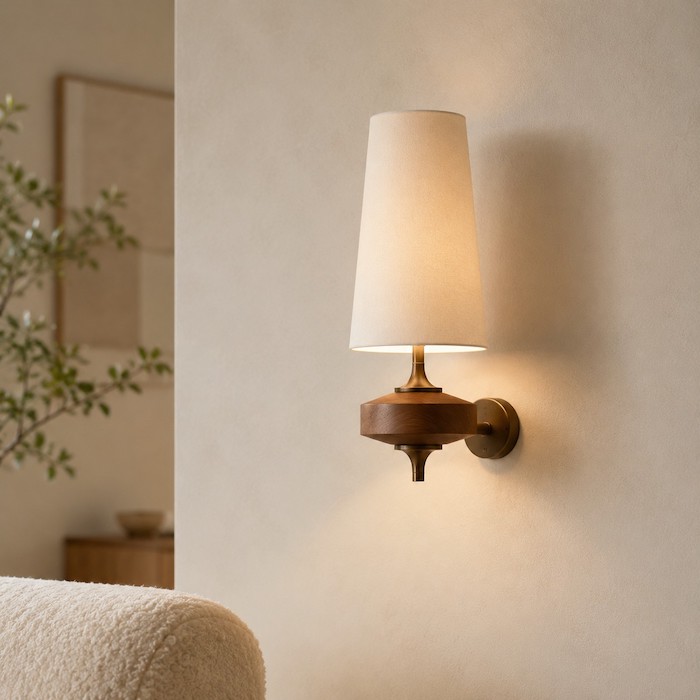
Step-by-Step Solutions to Stop the Flickering for Good
Fixing a flickering wall sconce requires a structured, logical progression. Always work from the easiest, least invasive fix to the most complex internal adjustments. Follow these detailed steps to safely isolate and resolve the issue.
Step 1: Isolate the Power Safely
Never rely solely on the wall switch when inspecting the internal mechanisms of a light fixture. Wall switches only cut the leg of the hot wire, leaving the neutral wire and potential stray voltage active. Go directly to your home’s main electrical panel (breaker box) and flip the circuit breaker designated for that specific room to the "OFF" position. Verify the power is dead by flipping the wall switch multiple times or, ideally, by using a non-contact voltage tester against the fixture housing before touching any components.
Step 2: Inspect and Tighten the Bulb Seating
Thermal expansion and contraction can cause a bulb to gradually back out of its socket over months of use. Wait for the bulb to cool completely, then remove it entirely from the socket. Inspect the metal tab at the very bottom center of the socket; if it flattened out too much over time, it may not be making firm contact with the base of the bulb. With the power strictly off, use a small flathead screwdriver to gently pry the tab upward by a millimeter to restore tension. Re-insert the bulb firmly, ensuring it is threaded straight and seated tight.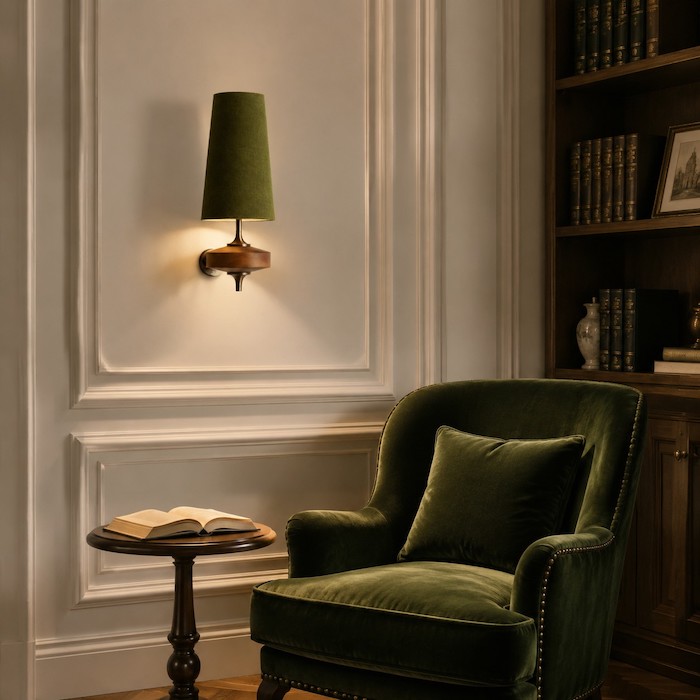
Step 3: Resolve Dimmer and LED Compatibility
If you are using modern LED bulbs on an older dimming switch designed for traditional incandescent fixtures, the switch will fail to register the tiny electrical load of the LED. Older dimmers often require a minimum load of 40 to 60 watts to operate smoothly, whereas a highly efficient LED wall light might only draw 6 to 12 watts. This vast discrepancy causes the internal triac component of the switch to cycle rapidly on and off, creating a visible strobe effect. If this matches your setup, you must purchase a modern trailing-edge dimmer explicitly rated for LED compatibility.
Step 4: Audit the Junction Box Wiring
If the bulb and switch are verified to be compatible, the fault likely lies behind the mounting plate. Unscrew the fixture from the wall junction box to expose the wire connections. Look closely at the wire nuts holding the house wires (black hot, white neutral, and bare copper ground) to the fixture leads. Over time, vibrations from slamming doors or poor initial twisting can cause these connections to slip. Unscrew the wire nuts, verify that the bare copper strands are straight and undamaged, twist them tightly together clockwise with a pair of lineman's pliers, and re-secure the wire nuts firmly. Wrap the nuts in electrical tape for added security. For step-by-step imagery and safety tips on mounting mechanics, read our complete home lighting installation guide.
Common DIY Mistakes That Can Be Dangerous or Costly
When trying to resolve lighting problems quickly, it is easy to cut corners. However, electricity is unforgiving, and small errors can create serious fire hazards or permanently destroy your wall fixtures. Avoid these three common pitfalls:
- Mixing Non-Dimmable Bulbs with Dimming Circuits: Never place a standard, non-dimmable bulb on a circuit controlled by a dimming switch, even if you intend to leave the dimmer at 100% brightness. The circuitry will overheat, causing severe flickering and drastically shortening the lifespan of the bulb, or even melting the internal driver.
- Over-tightening the Bulb in the Socket: Screwing a bulb in with excessive brute force can break the delicate solder points at the base of the socket or crack the glass casing of the bulb itself. Turn the bulb until it meets firm resistance, then stop.
- Ignoring an Accompanying Buzzing Noise: If your flickering light is accompanied by a faint buzzing or crackling sound, stop using it immediately. This is a definitive indicator of "arcing"—where electricity jumps across an air gap due to a loose wire or cracked component. Arcing generates intense heat and is a leading cause of residential electrical fires.
When to Repair vs. When to Replace Your Wall Sconce
While fixing loose wiring or replacing a bad bulb is straightforward, there comes a point where a light fixture is simply past its prime. If your wall sconce features an older, integrated, non-replaceable LED driver that has begun to degrade, finding and wiring an exact matching replacement driver can cost more in time and shipping than buying a completely fresh fixture. Furthermore, if the socket itself shows signs of scorching, corrosion, or brittle plastic from decades of heat exposure, repairing it poses a persistent safety risk.
Instead of spending hours troubleshooting an old, deteriorating fixture that no longer suits your home’s stylistic evolution, upgrading to a high-quality, structurally sound alternative is often the most cost-effective and rewarding decision. If you are ready to move past the frustration of repair work and inject immediate warmth into your living spaces, you should consider a design upgrade.
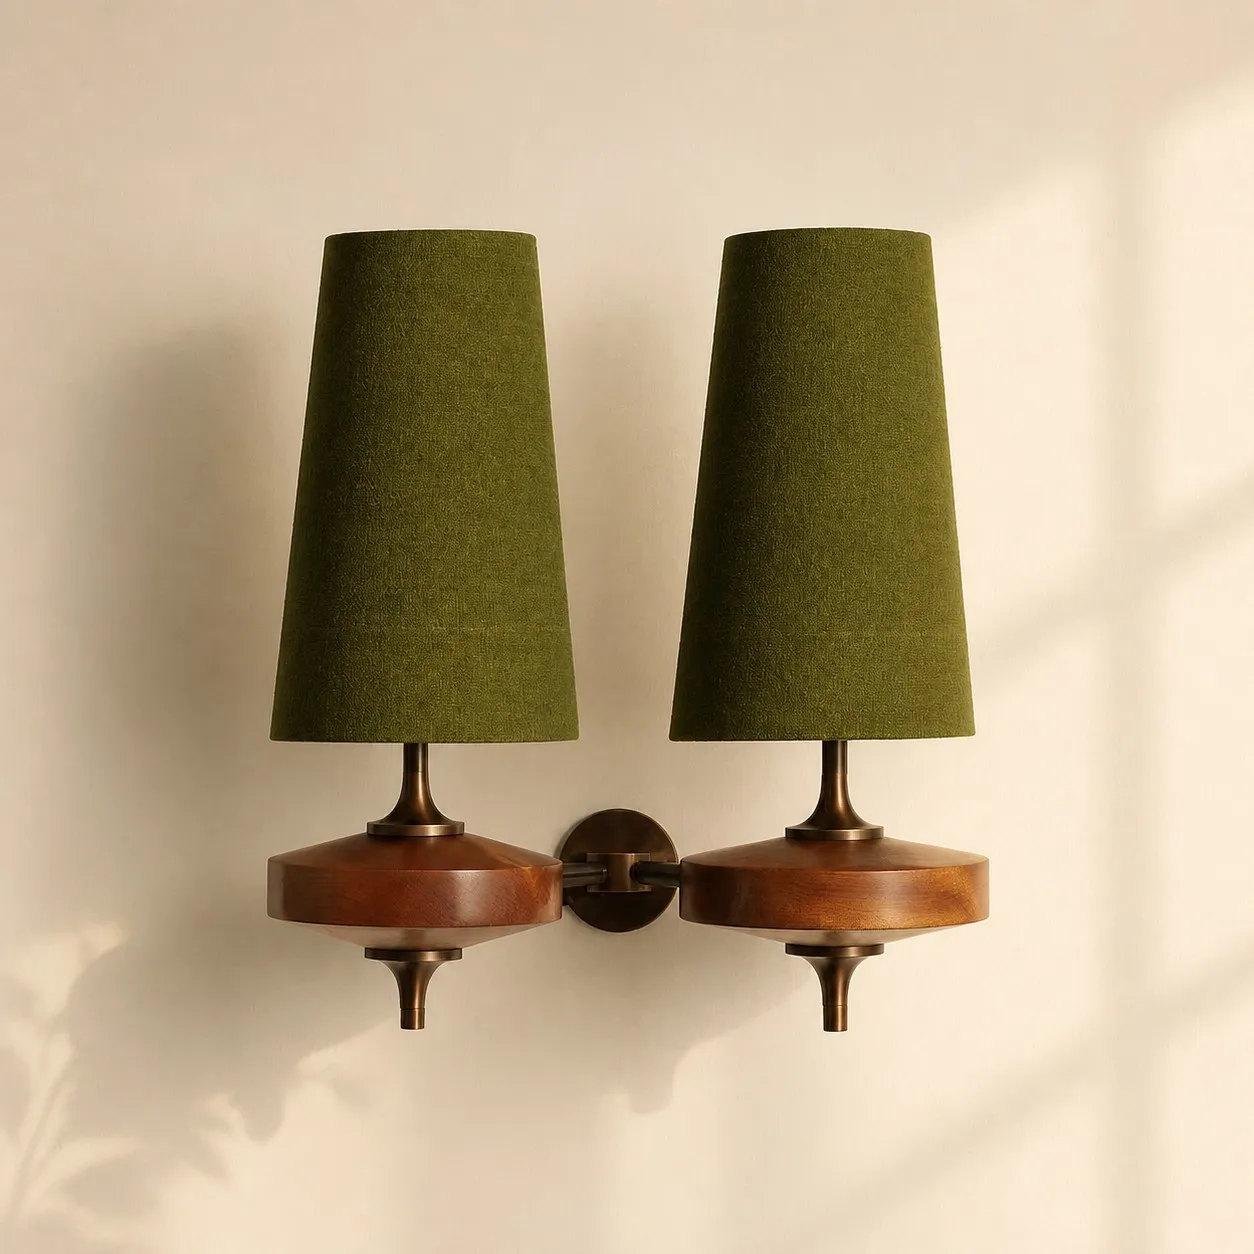
Featured Design Upgrade: The Hour Rho Wall Lamp
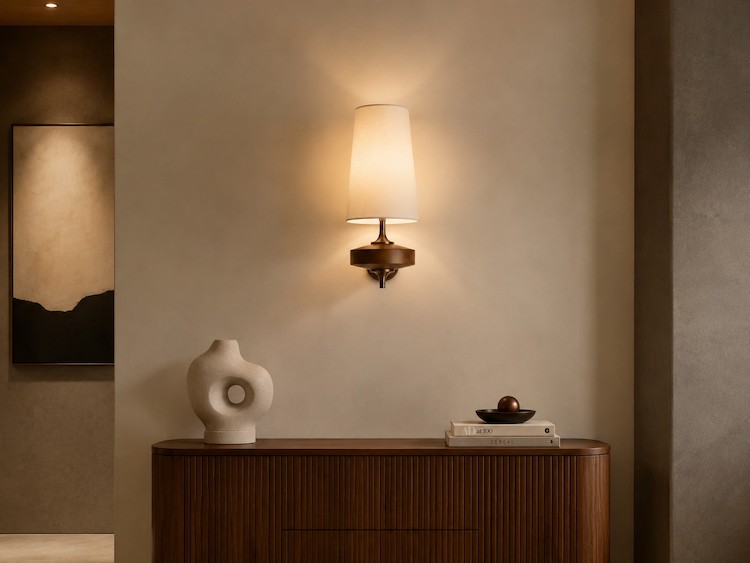
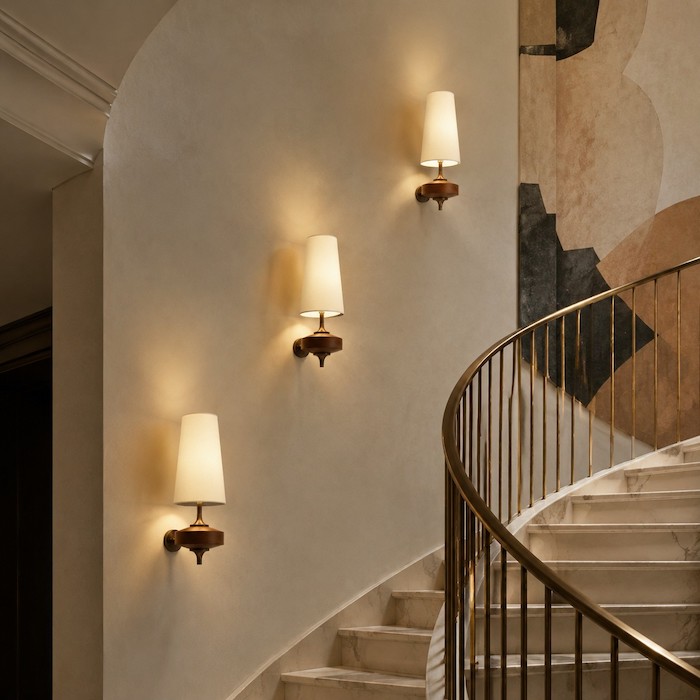
For those looking to replace an unstable or outdated fixture with an enduring, beautifully crafted piece, the Hour Rho Wall Lamp - Modern Wood Wall Sconce with Fabric Shade for Hallway and Living Room offers an exceptional solution. Designed with an emphasis on structural stability and natural aesthetics, this wall sconce completely eliminates the common engineering flaws that lead to long-term flickering issues.
The Hour Rho Wall Lamp features a premium, heavy-duty ceramic E27 socket core that provides impeccable contact tension against the bulb base, ensuring that natural household thermal shifts won't disrupt your electrical current. Its real natural wood arm and base anchor firmly to standard modern junction boxes, isolating the interior wiring safely from external wall vibrations. Wrapped in a premium, heat-resistant fabric shade, it diffuses light smoothly across hallways, reading nooks, or living rooms without exposing raw glare. By pairing the Hour Rho Wall Lamp with a certified dimmable LED bulb and a modern dimmer, you can guarantee a lifetime of flicker-free, ambient lighting.
If you want to explore additional options to match a specific architectural theme in your home, you can browse our curated selections on our specialized modern collection page.
FAQs About Flickering Wall Lights
Yes, under specific conditions. If the flickering is caused by a loose bulb or a bad dimmer, it is generally safe. However, if the flickering stems from loose wire connections or broken insulation inside the wall junction box, it can cause electrical arcing. Arcing generates localized heat exceeding 1,000°F, which can easily ignite surrounding insulation or wood studs.
This is caused by "ghost voltage" or residual current leakage. Many modern smart switches, timers, or switches with built-in locator night-lights pull a tiny amount of continuous current through the neutral line to power themselves. Highly sensitive LED bulbs store this trickle charge in their capacitors until it builds up enough to emit a brief, rhythmic flash, even when the circuit is technically off.
Absolutely. Standard older dimmers operate on leading-edge technology meant for high-wattage resistive incandescent filaments. Modern LED sconces require electronic low-voltage (ELV) or trailing-edge dimmers that can cleanly modulate the lower pulse-width frequencies of LED drivers without causing operational drops that look like flickering.
A well-constructed wall light fixture featuring a ceramic socket and robust solid wood or metal framing should easily last 15 to 20 years. The primary failure point is rarely the housing itself, but rather the expendable bulbs or the cheap plastic switches managing the flow of current. Investing in a premium sconce prevents early structural breakdown.
This happens because your wall light is wired into a shared electrical circuit with a heavy motorized appliance, such as a refrigerator or air conditioner. When these motors turn on, they draw a massive inrush current for a fraction of a second, causing a temporary voltage dip across that entire branch circuit. This causes the light to dim or flicker momentarily before stabilizing.