



Step-by-Step DIY Guide to Installing Plug-In Wall Sconces
To successfully install a plug-in wall sconce without it looking messy, cluttered, or cheap, your entire project must pivot on three non-negotiable checks before purchasing: measuring the exact wire path to your nearest outlet, establishing the correct ergonomic mounting height for your specific room scenario, and selecting heavy, high-texture materials like wood or fabric to counteract the visual weight of the exposed down-cord.
By executing the strategic preparation detailed below, you can bypass the expensive costs of hiring an electrician (saving upwards of $150 per hour) and completely eliminate the risk of returns caused by cords that are too short or switches that drop into unreachable locations behind your furniture. This step-by-step framework transforms a 15-minute mounting task into an intentional, designer-grade spatial upgrade.
Before You Start: What Information Do You Need to Collect First?
Before you browse digital catalog pages or reach for a screwdriver, you must map out what interior designers call the "Golden Triangle of Accent Lighting." This map consists of three specific spatial parameters that dictate exactly what type of fixture will physically and visually succeed on your wall:
- The Target Mounting Point: Locate the exact stud or wall cavity where you want the light to sit. Knock on the wall or use a magnetic stud finder to determine if you are dealing with hollow drywall, solid wood paneling, or masonry. This dictates your anchoring hardware.
- The Nearest Functioning Outlet: Do not measure in a straight, diagonal line across the wall. Cords must drop vertically or follow architectural trim lines. Measure from your target mounting point straight down to the baseboard, and then horizontally across to the nearest outlet.
- The Surrounding Clearance Zone: Measure the depth and width of adjacent furniture (such as sofa arms, bed headboards, or hallway mirrors). Your new sconce must not impede natural physical movement or clash with existing decor lines.
Pro Tip: If your calculated cord path requires sharp turns around door frames or architectural molding, add an extra 10% to 15% to your total length requirements to account for slack and neat cornering. For deeper insights into balancing room layouts with light sources, check out our comprehensive guide on How to Layer Lighting in Your Home.
Step 1: How Do You Confirm Your Core Lighting Needs?
Do not buy a plug-in sconce based solely on its aesthetic appearance. You must make a definitive judgment on its functional purpose: Are you deploying Task Lighting or Ambient Lighting?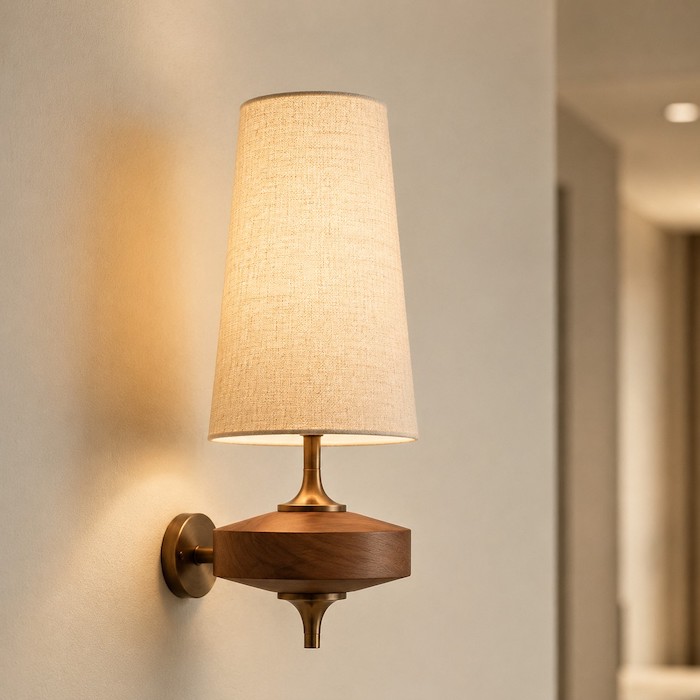
If your primary goal is to illuminate a dedicated activity—such as reading a book in bed or working over a small desk corner—you require Task Lighting. For this application, you must choose fixtures with opaque metal shades or articulating swing arms that focus a tight, adjustable beam of light directly downward onto your page or work surface.
Conversely, if your goal is to banish dark corners, soften the hard architectural lines of a corridor, or add cozy warmth to a seating arrangement, your need is Ambient Lighting. For this scenario, you must choose fixtures with translucent or semi-translucent shades, such as linen fabric or frosted glass. These materials scatter the light across a wide 360-degree radius, bouncing illumination off the ceiling and walls to create a glare-free, welcoming atmosphere.
Step 2: How Do You Choose the Right Size and Installation Height?
The single biggest mistake DIYers make is mounting their wall sconces too high or too low, creating an awkward visual disconnect or exposing the bare bulb directly to a person's eyes. The ideal placement depends entirely on the specific room scenario.
Use the architectural proportions and standardized guidelines below to lock in your positioning before making any marks on your wall:
| Placement Scenario | Ideal Mounting Height (Floor to Base) | Size Proportion Rule |
|---|---|---|
| Hallway / Long Corridors | 60 to 65 inches | Max fixture projection of 4 inches from the wall surface. |
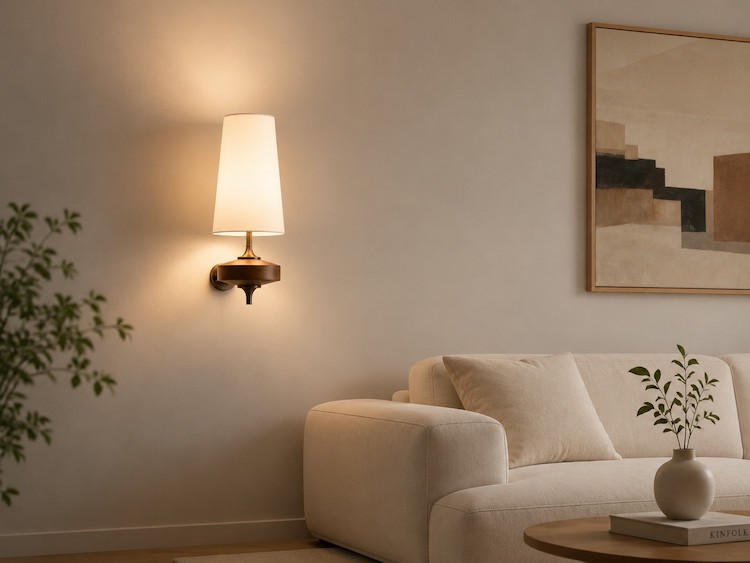
| Living Room (Flanking a Sofa) | 55 to 60 inches | Sconce width should stay within 1/3 of the sofa arm's total width. |
| Bedroom (Bedside Reading) | 20 to 24 inches above mattress | Sconce height should not overtop the vertical line of the headboard. |
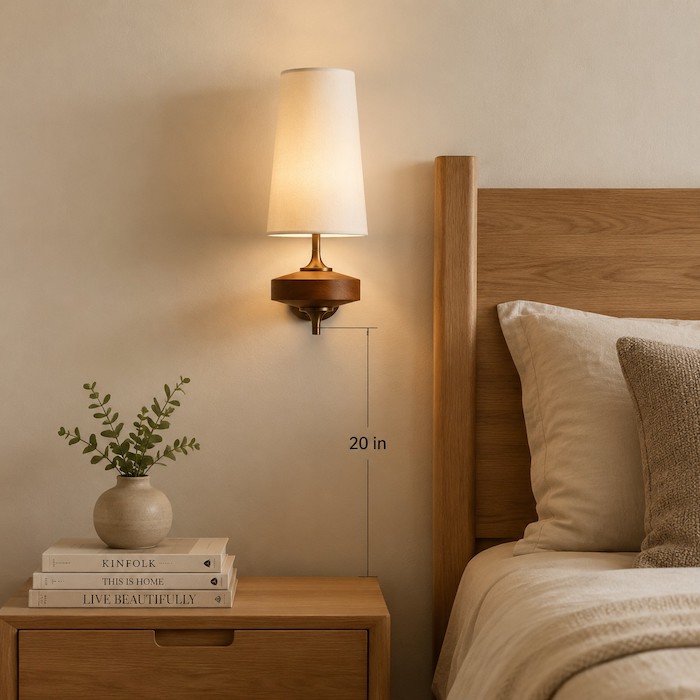
To apply these numbers in a practical setting, imagine sitting on your living room sofa. Your eye level is typically around 40 to 45 inches from the floor. Mounting your wall sconce with the base of the shade hovering around 55 inches ensures that the solid top or side of the shade shields your eyes from the raw filament of the lightbulb, casting a soft, indirect glow across your field of vision.
Step 3: How Do You Match Materials and Aesthetics to Avoid a Cheap Look?
The defining characteristic of a plug-in sconce is its exposed power cord. If you match a lightweight, glossy plastic fixture or a highly polished, thin-gauge metal frame with an unmanaged hanging wire, the entire installation can instantly look unfinished and cheap.
To elevate a plug-in fixture into a high-end design feature, the sconce itself must incorporate rich, tactile materials that carry inherent visual weight. Look for elements that provide organic texture:
- Natural Hardwoods: Backplates or mounting brackets crafted from solid ash, oak, or walnut provide a sturdy, grounded anchor against flat drywall. Wood surfaces break up the monotony of painted plaster and inject an architectural warmth that makes the fixture feel permanently integrated into the room's design.
- Woven Fabric Shades: Linen, canvas, or cotton blend shades add a soft material contrast to the hard surfaces of your walls. When lit, the subtle weave of high-quality fabric filters light horizontally while casting a gentle down-shadow that naturally softens the appearance of the hanging cord below.
Beyond Aesthetics: Solving the "Cold Room" Dilemma
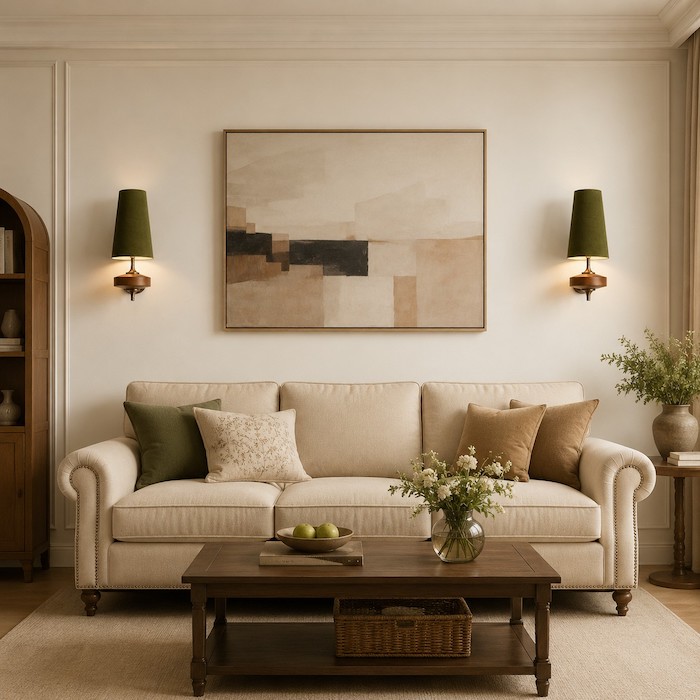
Many modern homes suffer from the "sterile effect"—too much white paint, glass, and metal, which makes a living room or bedroom feel uninviting. If you find your space lacks character, you are essentially trying to learn How to Balance the Coldness of Modern Interiors with a Wood Wall Sconce and Fabric Shade? The answer lies in texture. By introducing the organic warmth of wood and the soft diffusion of fabric, you break the harsh lines of modern design, creating a visual bridge between the technology in your room and the comfort you seek.
By introducing elements like wood grains and fabric textures, you shift the visual focus away from the power cord and transform the entire setup into a intentional Scandinavian, Mid-Century Modern, or elevated minimalist statement.
Step 4: How Do You Check Your Installation and Hardware Conditions?
Before committing to a product, you must closely analyze two physical constraints: cord length mechanics and switch ergonomics.
First, verify the manufacturer's specified cord length against your measured path. If your path from the wall anchor down to the baseboard and over to the outlet totals 7 feet, a fixture with a 6-foot cord will force you to run an unsightly diagonal line or rely on an extension cord—both of which ruin the clean aesthetic. Always ensure the integrated cord length provides at least 12 to 18 inches of extra slack beyond your measured path to facilitate clean, right-angle corner routing.
Second, pinpoint the physical location of the on/off switch. Plug-in sconces typically feature one of three configurations: a rotary switch mounted directly on the backplate, an in-line rocker switch spliced into the middle of the hanging cord, or a foot-pedal switch resting near the plug.
If you are mounting a pair of sconces high up on a hallway wall (at 65 inches), an in-line switch positioned 24 inches below the fixture will hang at a comfortable 41 inches off the ground, right within natural arm's reach. However, if that same switch drops 4 feet down the cord and falls directly behind a heavy, flush-backed sofa, it becomes entirely inaccessible. Always match the switch location to your physical reach within the designated space.
Step 5: How Do You Avoid the Most Common Plug-In DIY Mistakes?
To ensure your DIY project looks flawless, protect your installation from these two common structural and aesthetic mistakes:
1. The "Dangling Wire Nightmare"
Never allow your power cord to hang in a loose, unpredictable curve away from the wall. This instantly signals a messy, temporary setup. Instead, use a clear leveling tool to pull the cord perfectly taut and straight down from the center of the mounting bracket. Anchor it tightly against the wall using matching brass nail-in clips, or completely conceal it inside a paintable, rigid cord raceway that matches your exact wall paint color.
2. The Color Temperature Catastrophe
Because plug-in sconces are frequently used in intimate living spaces like hallways, bedrooms, and reading nooks, installing a cold, high-kelvin bulb can completely ruin the room's atmosphere. Avoid 4000K (cool white) and 5000K (daylight) bulbs, which mimic harsh office environments.
Make it a strict rule to install LED bulbs calibrated to 2700K (warm white) or 3000K (soft white). These temperatures bring out the rich undertones of natural wood frames and the cozy texture of fabric shades.
Final Pre-Purchase Checklist: Are You Ready to Buy?
Before hitting the checkout button, run through this final checklist to guarantee a seamless, zero-return installation:
- Wall Assessment: I know my wall type (drywall/wood) and have verified if I need hollow-wall anchors or standard wood screws.
- The Cord Verification: My measured path to the outlet is shorter than the fixture's integrated cord length, leaving enough slack for clean routing.
- The Switch Path: The on/off switch is located in an open, unblocked zone that is highly accessible from my normal sitting or standing position.
- The Lighting Balance: I have verified that the shade material matches my core requirement (opaque for focused task work, fabric/translucent for ambient room glow).
- The Bulb Match: I have selected a warm 2700K–3000K bulb to complement the space.
Recommended Products: The Ideal Blueprint Realized
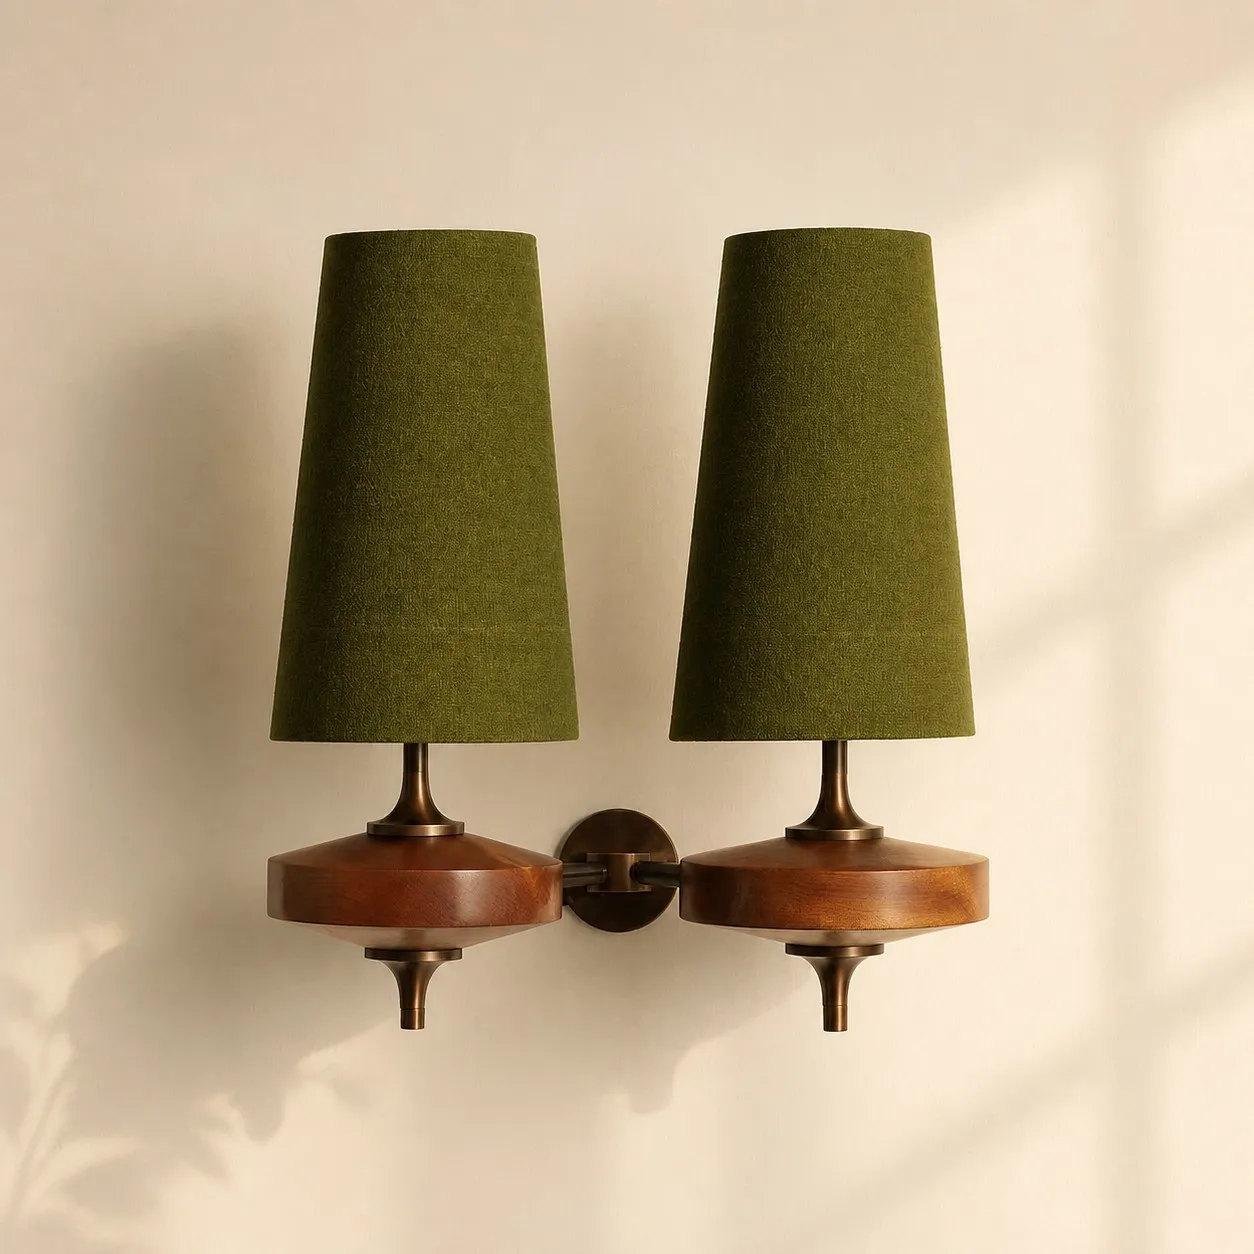
If your project calls for an ambient upgrade in a hallway, entryway, or living room seating area, the Hour Rho Wall Lamp - Modern Wood Wall Sconce with Fabric Shade for Hallway and Living Room is an excellent example of functional, well-proportioned design.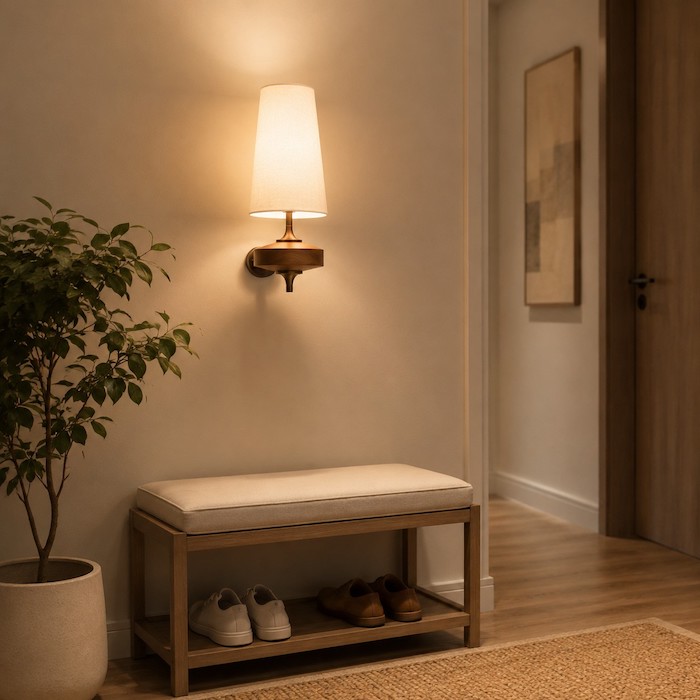
This fixture directly addresses the material challenges outlined in Step 3 by combining a premium solid wood backplate with a soft, finely woven linen fabric shade. The natural wood element provides a grounding visual weight that makes the fixture look like a permanent architectural addition rather than a temporary fix.
Simultaneously, its drum-shaped fabric shade filters light across a wide, glare-free horizontal plane. This makes it a great choice for long corridors or living room walls where soft ambient lighting is needed to banish shadows. Because it is a plug-in design, you can easily mount the structural wood bracket to your wall using simple drywall anchors, plug the premium cord into your nearest outlet, and instantly achieve a high-end designer look in less than fifteen minutes.
To view this fixture in various wood finishes, browse the full Hour Rho Wall Lamp product page or explore our complete Scandinavian Collection.
FAQ: Quick Solutions for Practical Installation Issues
Can I install a plug-in wall sconce in a rental property without drilling holes?
Yes. Because plug-in sconces like the Hour Rho Wall Lamp feature lightweight wood and fabric structures rather than heavy cast iron, you can easily mount them using heavy-duty adhesive hanging strips (such as 3M Command picture hanging strips). Ensure your wall surface is completely wiped clean of dust and oils before applying the adhesive to the backplate.
How do I cleanly hide the power cord if I don't want to use plastic raceways?
If you want a softer, more integrated look, you can wrap the down-cord in a decorative fabric cord cover (such as a split-linen or braided cotton sleeve) that complements the texture of your shade. Alternatively, place a tall indoor plant, a narrow accent table, or a stack of decorative books directly beneath the sconce to naturally obscure the cord's path to the outlet.
What is the maximum wattage bulb I should put inside a fabric shade sconce?
For fixtures featuring fabric shades, you should prioritize energy-efficient LED bulbs. LEDs emit very little heat compared to traditional incandescent bulbs. Always check the manufacturer's label, but a standard rule is to stick to a maximum of a 9W to 12W LED bulb (which delivers the light output equivalent to a traditional 60W to 75W incandescent bulb), providing plenty of ambient light while keeping the shade perfectly cool.