




The useful hand-off: Give the electrician a marked wall elevation, a full-size fixture template, the switch decision, the circuit information and the product's regional specifications. Do not hand over only a product photo and a guess at “standard height.”
Start With the Exact Fixture Footprint
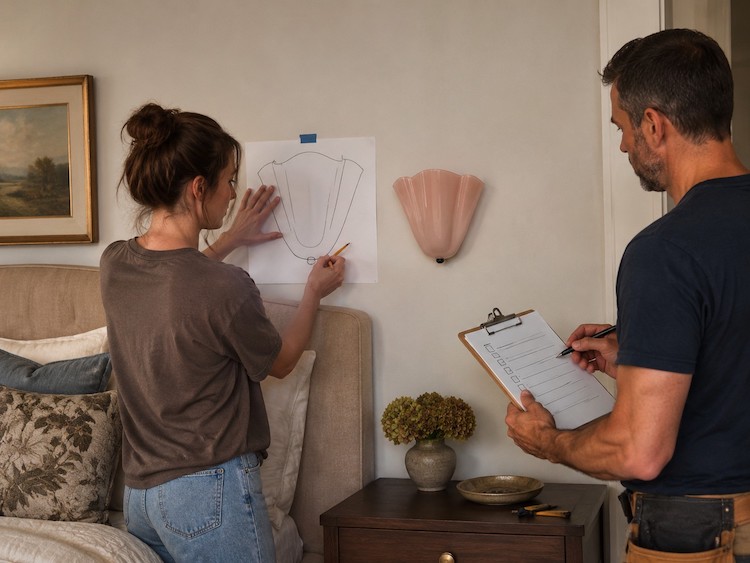
The Bellina Wall Lamp is approximately 28 cm wide, 25 cm high and 13 cm from the wall. Cut a 28 × 25 cm paper template, mark its center and add a note about projection. Tape it at the intended location beside the bed or in the hallway, then view it from standing, sitting and walking positions.
The current product page is the reference for Bellina's hand-blown glass, hardwired construction, E26/E27 socket, dimmer compatibility and two-bulb arrangement. Print or save that page for the site visit, but let the electrician verify the delivered model and local requirements.
Mark the Junction Box and Mounting Plate
Mark the fixture centerline, the top and bottom of the template, and the expected canopy or backplate zone. The box must be supported and positioned so the mounting hardware can be tightened without forcing the glass. On a stud wall, confirm the proposed support; on masonry, tile or plaster, confirm the approved fixing method and the repair plan.
Make the drawing useful to someone who was not in the room. Record a fixed reference such as the finished floor, the bed centerline or the nearest door casing, then add the proposed center height and the distance to each wall edge. Include a side note for the approximately 13 cm projection so the electrician can check the passage, curtain return and headboard depth. A few measured reference points are more reliable than a photograph with no scale.
- Draw the wall edge, headboard, nightstand, door trim and nearby artwork.
- Mark the clear walking path and door-swing envelope.
- Photograph the wall before opening it, including outlets and switches.
- Note whether the finish is paint, wallpaper, tile, paneling or fragile plaster.
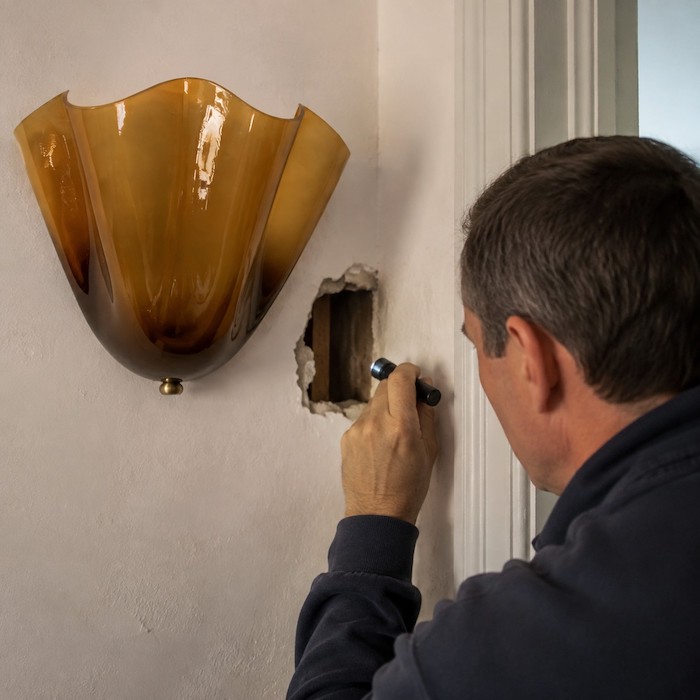
Decide Control and Reach Before Wiring
Choose the control location while the wall is still open. A bedside light may need a reachable wall switch, a two-way control or a compatible dimmer. Sit on the bed and rehearse the reach; a switch hidden behind a tall headboard is technically present but functionally poor.
Bellina's dimmer is not included. Confirm that the selected bulb is dimmable and that the control is rated for the LED load. ESFI's home electrical safety guidance is useful background, but the electrician must determine the circuit and local code requirements.
Prepare the Electrical Information
Write down the market voltage, existing circuit, breaker label, number of fixtures and intended bulb type. The Bellina page lists 110–240V compatibility and E26/E27 sockets, but the installed variant and local certification still need confirmation. Do not make the electrician search through a browser tab while working; provide the product URL and a printed summary.
Keep a note that the order does not include bulbs or a dimmer. This prevents a last-minute substitution that is too large for the glass or incompatible with the control. For LED label basics, ENERGY STAR's LED lighting guide explains how output and efficiency are compared.
Ask for the electrician's preferred sequence before the appointment: box and cable first, wall repair second, fixture mounting last. Clarify who supplies the approved box, connectors, dimmer and fasteners, and whether the electrician will test the circuit under load. If two sconces are planned, identify whether they share one control or operate independently. Recording those decisions prevents a beautiful pair from ending with one switch, one color temperature or one dimming behavior that does not suit the room.
Leave a copy of the final measurements on site and keep one with your order records. If the box shifts by even a few centimeters during construction, the template lets everyone see whether the change affects symmetry, clearance or switch reach before the wall is closed.
Protect the Finished Room
Agree on dust control, floor protection and where the fixture will rest before the work begins. Hand-blown glass should remain in its packaging until the wall and wiring are ready. Keep bulbs, screws and decorative parts in a labeled tray. Photograph the unpacked parts before installation so a missing or damaged item is documented immediately.
Electrical work should be de-energized and handled by a qualified person. OSHA's electrical safety resources explain the importance of controlling electrical hazards; a homeowner's role is to provide access, information and a clear decision, not to improvise live wiring.
Use a Five-Minute Approval Walkthrough
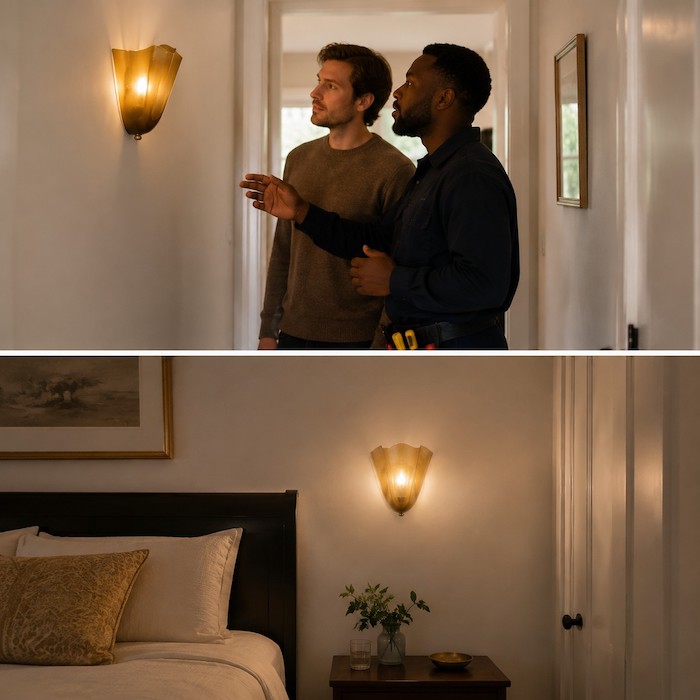
- Stand at the doorway and confirm the fixture reads balanced.
- Sit at the bed or chair and confirm the light will not shine directly into the eyes.
- Walk past with a bag, laundry basket or open door.
- Check that the switch can be reached without leaning across furniture.
- Ask the electrician to repeat the box, grounding, dimmer and finish-protection plan.
For the broader buying decision, read Before You Buy a Hardwired Glass Wall Sconce: Junction Boxes, Switches, Voltage and UL Safety. If there is no existing cable, use Can You Install a Hardwired Wall Sconce Without Existing Wiring?. For delivery and missing-part checks, use What Should Be Included with a Glass Wall Sconce? Bulbs, Mounting Hardware and Damage Checks.
Review Bellina's dimensions before the site visit and bring the template, not only a screenshot. Plan the Bellina installation
FAQ
How large should the template be?
Use the fixture's stated footprint: about 28 cm wide by 25 cm high for Bellina, plus a note for its approximately 13 cm projection.
Should the box be centered over the nightstand?
Usually center the light over the functional zone, then check the bed, headboard, wall edges and walking path together.
Who chooses the dimmer?
The homeowner can state the preferred control, but the electrician should confirm the LED load and compatibility.
Can the glass arrive before the wiring is ready?
It can, but keep it protected and unpack it with a documented condition check rather than leaving it exposed on site.
What should I give the electrician?
Provide the product URL, regional voltage, template, wall elevation, switch preference, bulb plan and any wall-condition photos.